Free gift wrapping on orders over $40 — plus free US shipping over $35

Clap, Tap, Repeat: Easy Pattern Games for Preschoolers

Try playful pattern games for preschoolers with claps, taps, shapes, and toys. Help your child notice what repeats and choose what comes next.

Clap, Tap, Repeat: Easy Pattern Games for Preschoolers
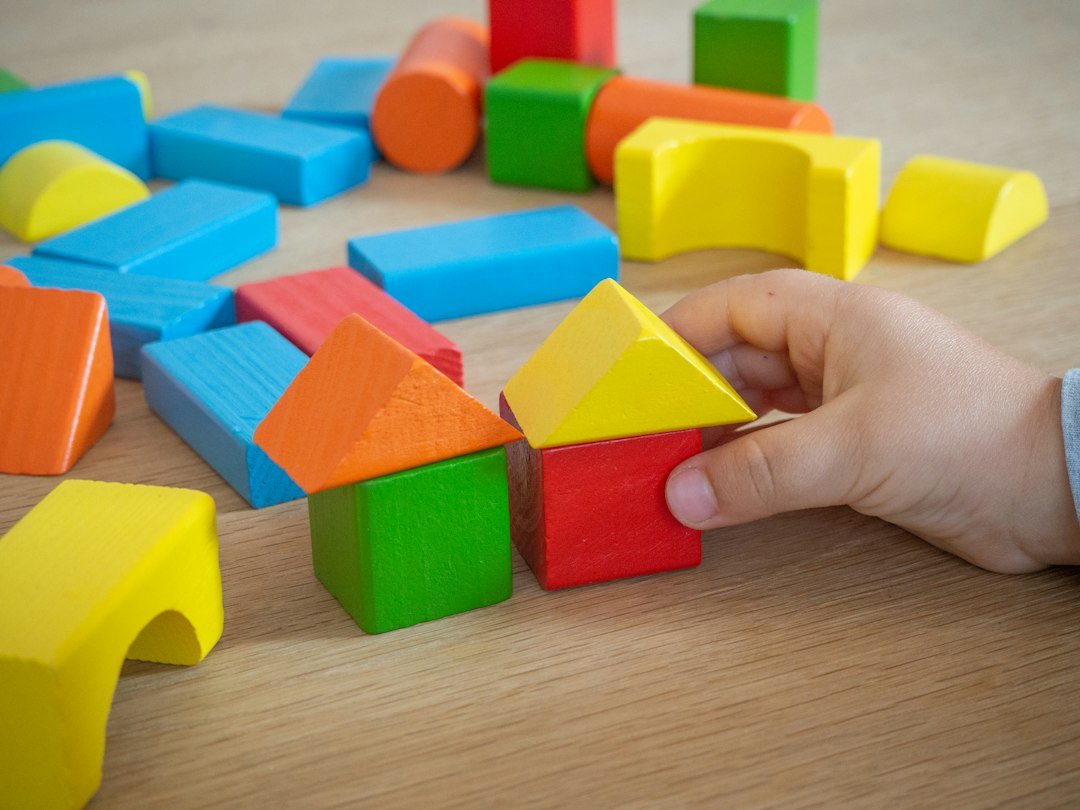
A child's hand placing a red and yellow wooden block house beside colorful building blocks.
Familiar blocks can become materials for pattern play. Photo by Michał Bożek / Unsplash.

Clap once, tap your knees once, then do the same pair again. You already have a pattern game. With a preschooler, the interesting moment comes when you pause and they decide what belongs next.

These easy pattern games for preschoolers use movements, drawings, or familiar toys. Choose one game, play alongside your child, and stop while it still feels enjoyable. There is no worksheet to finish or score to reach.

Find the part that repeats

In a repeating pattern, a small group comes back in the same order. In “clap, tap, clap, tap,” that group is “clap, tap.” Adults sometimes call this an AB pattern, but your child can talk about the actual actions without learning the letters.

The UK Department for Education’s early-years guidance on patterns recommends exploring simple repeating arrangements and movement rhythms, with friendly discussion when something does not fit. Children vary in how readily they notice patterns, so begin with a version you can enjoy together.

Game 1: Leave room for the next move

  1. Choose two comfortable actions. Try clapping and gently tapping your knees. You can also wave and touch your shoulders, or point to two large pictures.
  2. Show the whole repeating group several times. Say the action names as you do them: “Clap, tap; clap, tap; clap, tap.” Keep the pace slow.
  3. Invite your child to join you. Doing it together is a useful first turn. They do not have to watch silently and then perform alone.
  4. Pause after a clap. Ask, “What comes next in our pattern?” Wait for a movement, a word, or a point. If needed, do another complete pair together.

If your child keeps clapping, describe what happened without turning it into a test: “We made lots of claps. Shall we put our tap back after each clap?” They may simply want a clapping game today.

Game 2: Give the pattern a picture

Draw three large circles and three large squares in a row, alternating the shapes: circle, square, circle, square, circle, square. Point along the row together. Cover the final square with your hand and invite your child to show or draw what would fit there.

For a toy version, use large, age-appropriate blocks with two clearly different features. Keep the other features as similar as possible. If your rule is color, avoid simultaneously changing shape and size. Keep small pieces away from children who mouth objects, and stay with your child during play.

A useful question is, “Which little group keeps coming back?” Sweep your finger under one circle-square pair, then the next. This draws attention to the repeating group instead of only the final item.

Game 3: Let your child teach you

Invite your child to invent a short pattern for you to copy. Ask them to repeat it so you can see their rule. If the sequence changes each time, describe the movements you notice and enjoy copying them; you can return to a repeating version another day.

When the two-action game feels comfortable, offer “clap, clap, tap; clap, clap, tap.” Keep the whole three-action group intact. A longer pattern is an optional new puzzle, not a level your child must reach at a particular age.

NAEYC and NCTM’s early-childhood mathematics position statement includes modeling and discussing patterns among its teaching strategies. Asking your child to explain, point, or demonstrate gives you more to notice than a quick right-or-wrong answer.

Sorting, patterns, and shapes: keep the goal clear

Putting all the circles together is sorting. Arranging circle, square, circle, square in order makes a repeating pattern. Both are worthwhile activities. If your child prefers making groups, try our simple sorting game for preschoolers and come back to the row later.

If the shapes themselves spark questions, our shape games with turned squares offer another way to explore them. You do not need to teach every idea in the same sitting.

End with something you noticed

Try, “You checked the pair before adding another square,” or, “You made a pattern I could copy.” Specific observations keep the conversation about your child’s choices. A few relaxed turns can be enough for today.
Same Objects, Different Rules: A Simple Sorting Game for Preschoolers

A simple preschool sorting game: choose a rule, explain each choice, and regroup the same objects.

Same Objects, Different Rules: A Simple Sorting Game for Preschoolers

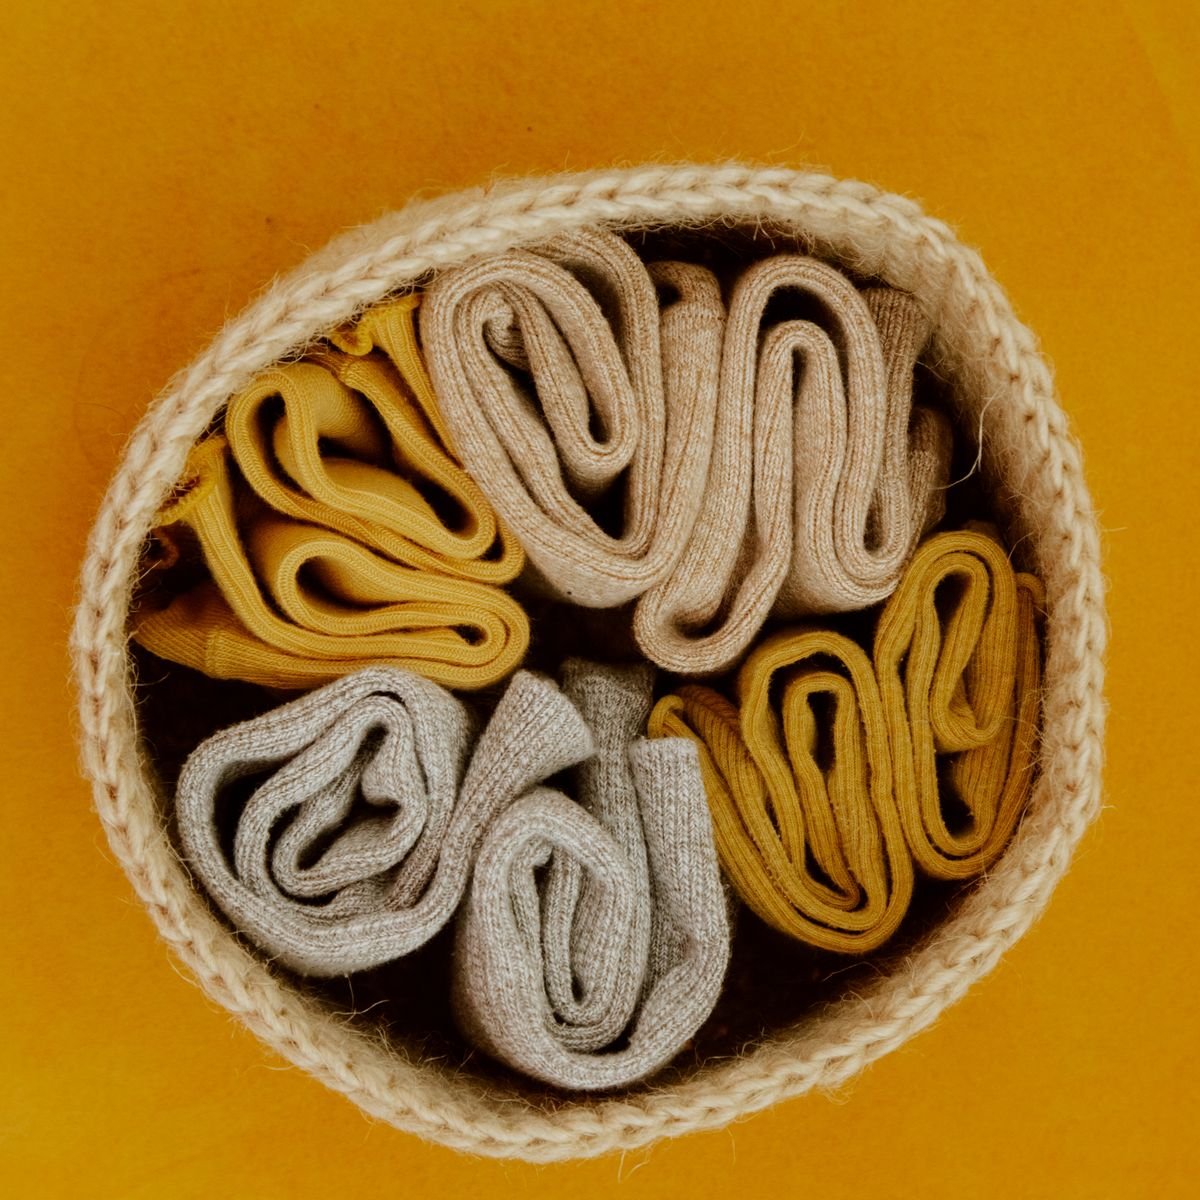
Yellow, beige and gray socks rolled inside a woven basket on an orange surface.
Everyday socks can become sorting materials. Photo: Ron Lach / Pexels.

A striped sock can belong with other blue things or with other striped things. Neither choice is automatically wrong: the useful question is which rule your child is using. A simple sorting game gives you a way to explore that idea without worksheets or a race to finish.

Choose one clear rule

Sorting means putting items into groups according to a shared feature. NAEYC’s guidance on sorting activities describes comparing characteristics and regrouping the same objects in different ways. It recommends beginning with one characteristic at a time.

Try the original household activity below with clean socks and two empty spaces on a table or floor. Choose items your child can handle comfortably, without loose decorations. Stay alongside the child and put the materials away afterward.

Play “same things, new rule”

  1. Start with a small collection. Select a few socks with clearly different features, such as plain and striped patterns. You do not need matching pairs.
  2. Name the first rule. Say, “Stripes here, no stripes here.” Place one example in each space and let your child place the next item.
  3. Ask for the reason. Try, “What made you choose that group?” Accept pointing or showing you the stripes instead of a spoken answer.
  4. Check together. Look through one group and ask whether every sock fits its rule. Move an item together if needed.
  5. Reset before changing the rule. Mix the socks again. This time, try long and short, using examples with an obvious difference. Explain that the objects stayed the same but the rule changed.

When an item could go either way

A sock with several colors can make a color rule confusing. Set that one aside at first rather than forcing a single answer. Later, invite your child to suggest a clearer rule: “Has blue on it” and “Has no blue on it” is different from “Only blue” and “Not only blue.” These are examples you can adapt, not a test with a prescribed score.

If your child quietly switches from pattern to size halfway through, describe what you notice: “You put this one here because it is long. Were we checking length or stripes?” Return to the first example. You can also finish their new grouping and discuss its rule rather than immediately correcting it.

Make it easier or add a challenge

For an easier version, use only three or four items and demonstrate each choice. For a child who wants more, let them sort first while you guess their rule. Ask permission before adding an item to see whether it belongs. Avoid increasing the number of objects just to keep the activity going.

Once the groups are ready, counting is an optional separate step. Our guide to counting objects with preschoolers explains how to match one number word to each item. Keep the comparison friendly; a smaller group is not a losing group.

Finish with one useful observation

Say something specific, such as, “You checked the pattern before choosing a space.” Then let your child help return the socks. This can fit into a short screen-free routine, but there is no required duration or number of successful turns. The conversation about the rule is the point.

What to Say When a Child Says “I Can’t Draw”

Respond to “I can’t draw” with a smaller starting step, a choice of support, and comments about the process rather than a perfect finished picture.

What to Say When a Child Says “I Can’t Draw”

When a child says “I can’t draw,” acknowledge the difficulty and offer a smaller first step. Try, “Starting feels tricky. Would you like to make one mark, watch me try on my own paper, or tell me your idea first?” Avoid taking the pencil and finishing the child’s picture unless that is the help they specifically want.

Find out what feels difficult

The child may not know how to begin, may want a realistic result, or may simply be tired. Ask one question: “Which part feels hard?” Listen before suggesting a solution. If they do not want to explain, offer a pause rather than another question.

The difficulty A response to try
“I don’t know what to draw.” Offer two starting ideas: a place or an imaginary creature.
“Mine doesn’t look like that.” Ask whether they want to copy one small feature or make their own version.
“I made a mistake.” Offer a choice: keep the mark, change it, or start another sheet.
“You draw it for me.” Ask whether they want a demonstration on separate paper or a shared picture.

Separate exploring from following a model

Sometimes a child wants instructions for drawing a recognizable object. At other times, they want to explore marks, colors, and ideas. Both situations call for a clear invitation. Say whether today’s drawing has a model to follow or is open-ended.

NAEYC’s guidance on supporting creativity distinguishes process-focused art, where children explore without a predetermined result, from product-focused work. It also describes conversations about materials and children’s ideas as opportunities for language and literacy. The suggestions here apply that distinction; they do not guarantee a change in confidence or skill.

Three original low-pressure invitations

These are original activity ideas, not descriptions of pages included in a particular book.

  • A line with a destination: invite the child to draw a winding path. They can decide where it goes afterward.
  • A tiny detail: instead of drawing a whole animal, begin with one ear, a footprint, or a patch of fur.
  • A shared scene: agree who draws which part. One person makes the sky; the other chooses what belongs beneath it.

Keep your example on your own paper so the child can accept, adapt, or ignore it. If you share a page, ask permission before adding to their marks.

Comment on decisions, not a score

Notice something specific: “You used short lines for the grass,” or “You changed the path to go around the pond.” Invite explanation without guessing what the picture means. A child can also choose not to talk about it.

For teachers, avoid comparing one child’s result with another’s. Offer the same materials with different entry points: marks, a detail, a full scene, or a spoken plan.

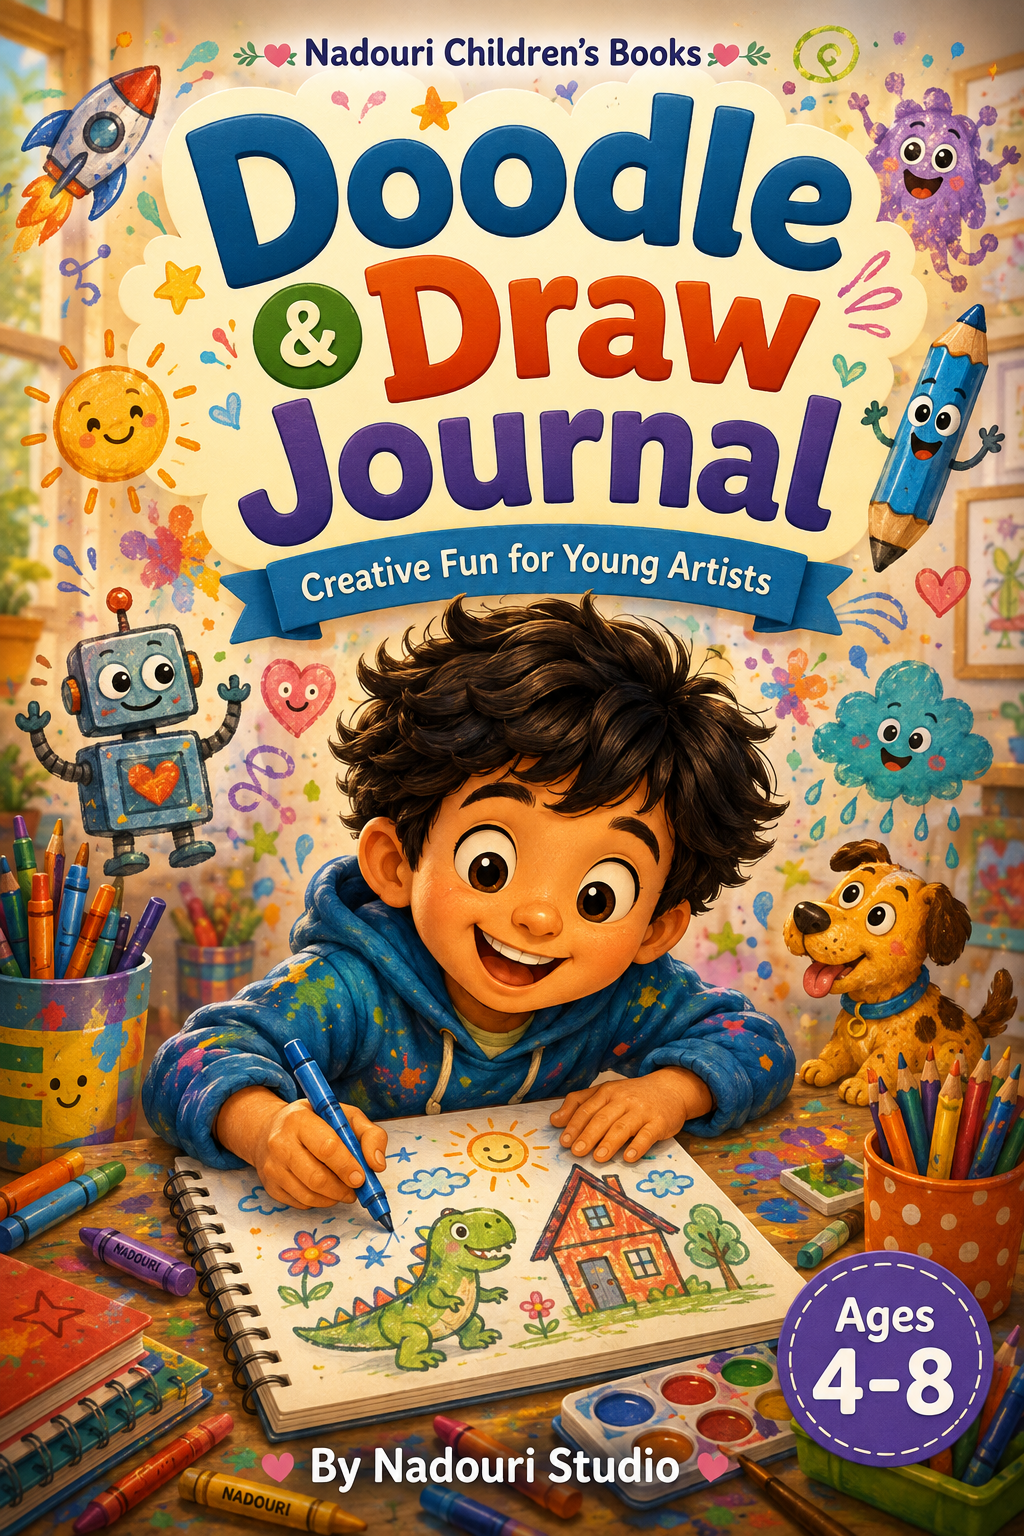
Doodle & Draw Journal cover showing a child drawing beside crayons and illustrated characters
Preview a drawing book before deciding whether its prompts suit your child.

A book is optional, not a requirement

The Doodle & Draw Journal listing describes guided drawing prompts and space for ideas. Check its current previews for fit, or browse the Activity & Coloring collection. Plain paper is enough for every original invitation above.

End with the child’s choice: save the picture, continue later, or put it away. The next step can be one mark—not a finished masterpiece.

Why Is a Turned Square Still a Square? Shape Games for Preschoolers

Help preschoolers recognize shapes beyond a familiar picture using turning, tracing, and matching games that focus on sides and corners.

Why Is a Turned Square Still a Square? Shape Games for Preschoolers

A square stays a square when you turn it because its sides and corners do not change. To help a preschooler see this, rotate one large paper square slowly, trace its edge together, and compare it with the same square in its starting position. Focus on what remains the same rather than asking the child to memorize another label.

Look at features, not just a familiar picture

A square has four equal straight sides and four right-angle corners. A triangle has three straight sides and three corners. Turning either shape changes where it points, not what it is. You can use everyday words such as “sides” and “corners” without expecting a child to use formal vocabulary immediately.

NAEYC’s Everyday Shapes guidance encourages families to compare shapes, name their features, and explore them during daily activities. The games below are original suggestions for practicing those comparisons; they are not copied lessons or activities promised inside a product.

Try the turn-and-check game

  1. Draw a large square on paper. An adult can cut it out, or you can rotate the whole sheet.
  2. Trace its four sides with a finger and touch each corner.
  3. Turn it so one corner points upward. Ask, “Did a side disappear? Did we add a corner?”
  4. Turn it back and explain: “The square moved, but its shape stayed the same.”

If the child calls it a diamond, acknowledge the resemblance: “People sometimes use that word for how it looks. This one still has the same four equal sides and square corners.” Not every diamond-shaped drawing is a square; use the actual features of the example in front of you.

Two more original games

Match across a turn

Draw two identical triangles on separate sheets and rotate one. Offer a circle as a distractor. Ask which drawings have the same shape, then trace the three sides to check. Later, try triangles of different sizes or with different side lengths; each is still a triangle if it has three straight sides.

Compare the picture with the object

Draw a rectangle beside a closed book. Explain that the book’s front face looks rectangular, while the whole book has thickness. This keeps a flat shape distinct from a three-dimensional object.

Make the challenge fit the child

Begin with two choices and let the child point instead of naming. If a rotated shape is confusing, physically turn it back together. For a group, give each child a turn to describe one feature rather than race to answer. Stop after a few comparisons; there is no required number of correct responses.

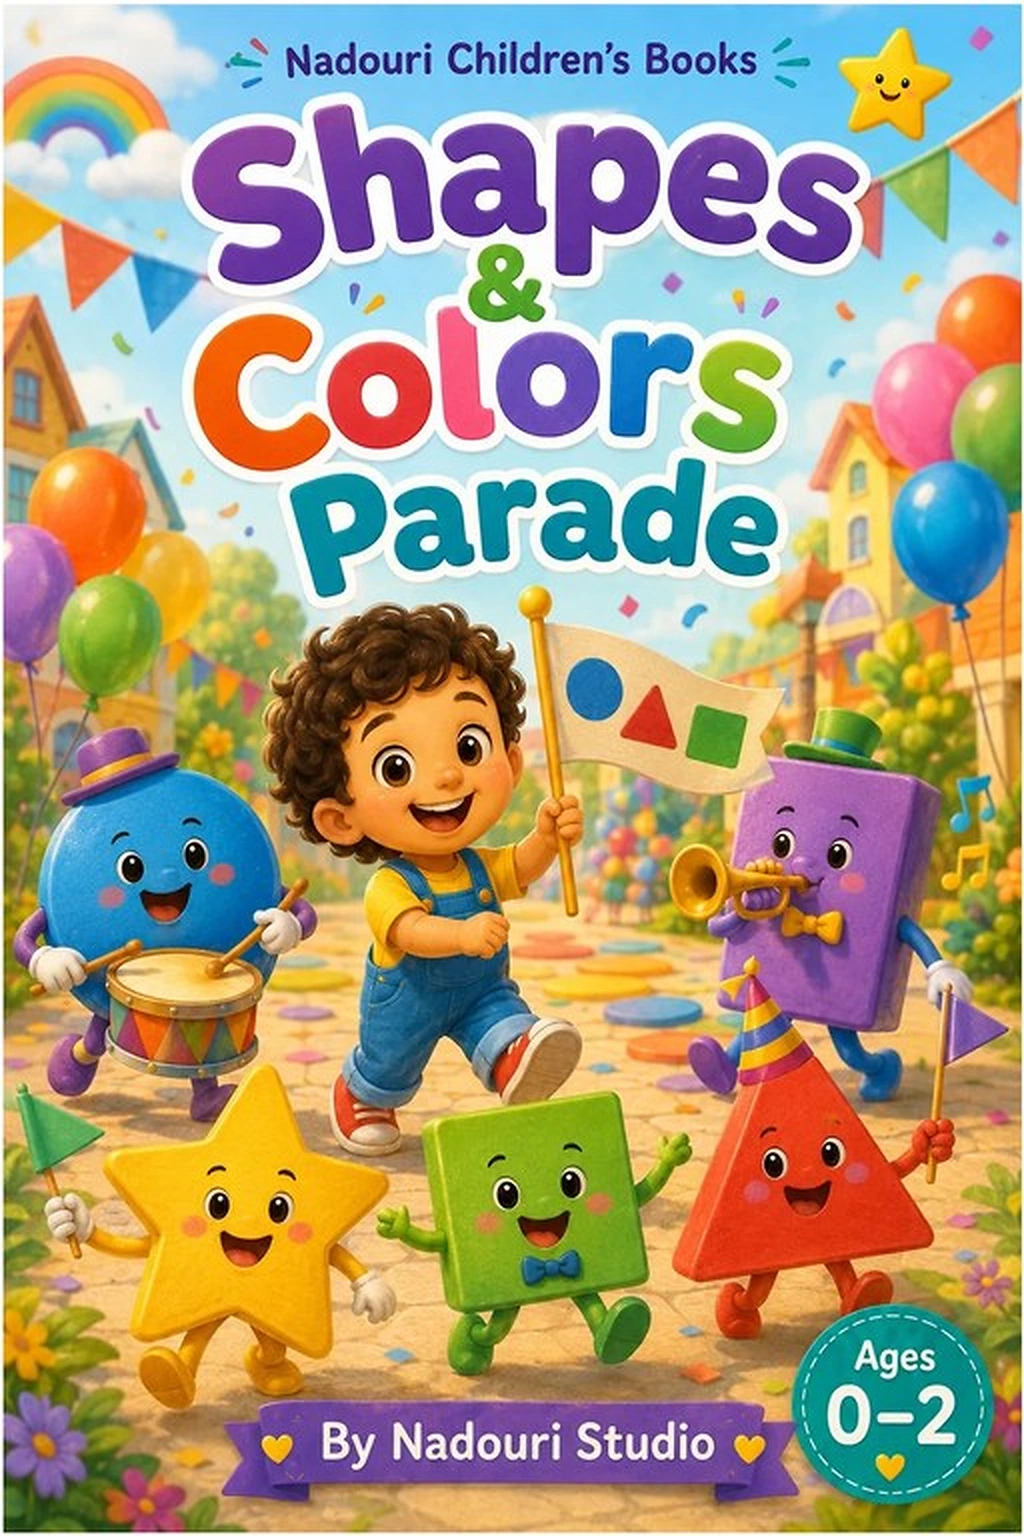
Shapes & Colors Parade cover showing a child marching with colorful shape characters
A shape-themed book can provide pictures to notice and discuss.

Use books as a starting point

Shapes & Colors Parade is listed as a read-aloud title for babies and toddlers ages 0–2. It can be a simple shared introduction for younger family members; the preschool games above are separate extensions, not claims about its contents. Browse the Early Learning collection for other options, and check each book’s previews and age guidance.

For today, use just one square. Turn it, look carefully, and let the child explain what changed and what did not.

How to Pack a Screen-Free Activity Kit for Travel Days

Pack a compact screen-free travel kit with one activity book, drawing tools, paper, and a simple rotation plan for waiting rooms and travel breaks.

How to Pack a Screen-Free Activity Kit for Travel Days

A useful screen-free travel kit does not need many supplies. Pack one slim activity book, three or four drawing tools, a few sheets of paper, and a pouch that the child can open and close. Offer one activity at a time so the kit stays manageable in a car, airport, restaurant, or waiting room.

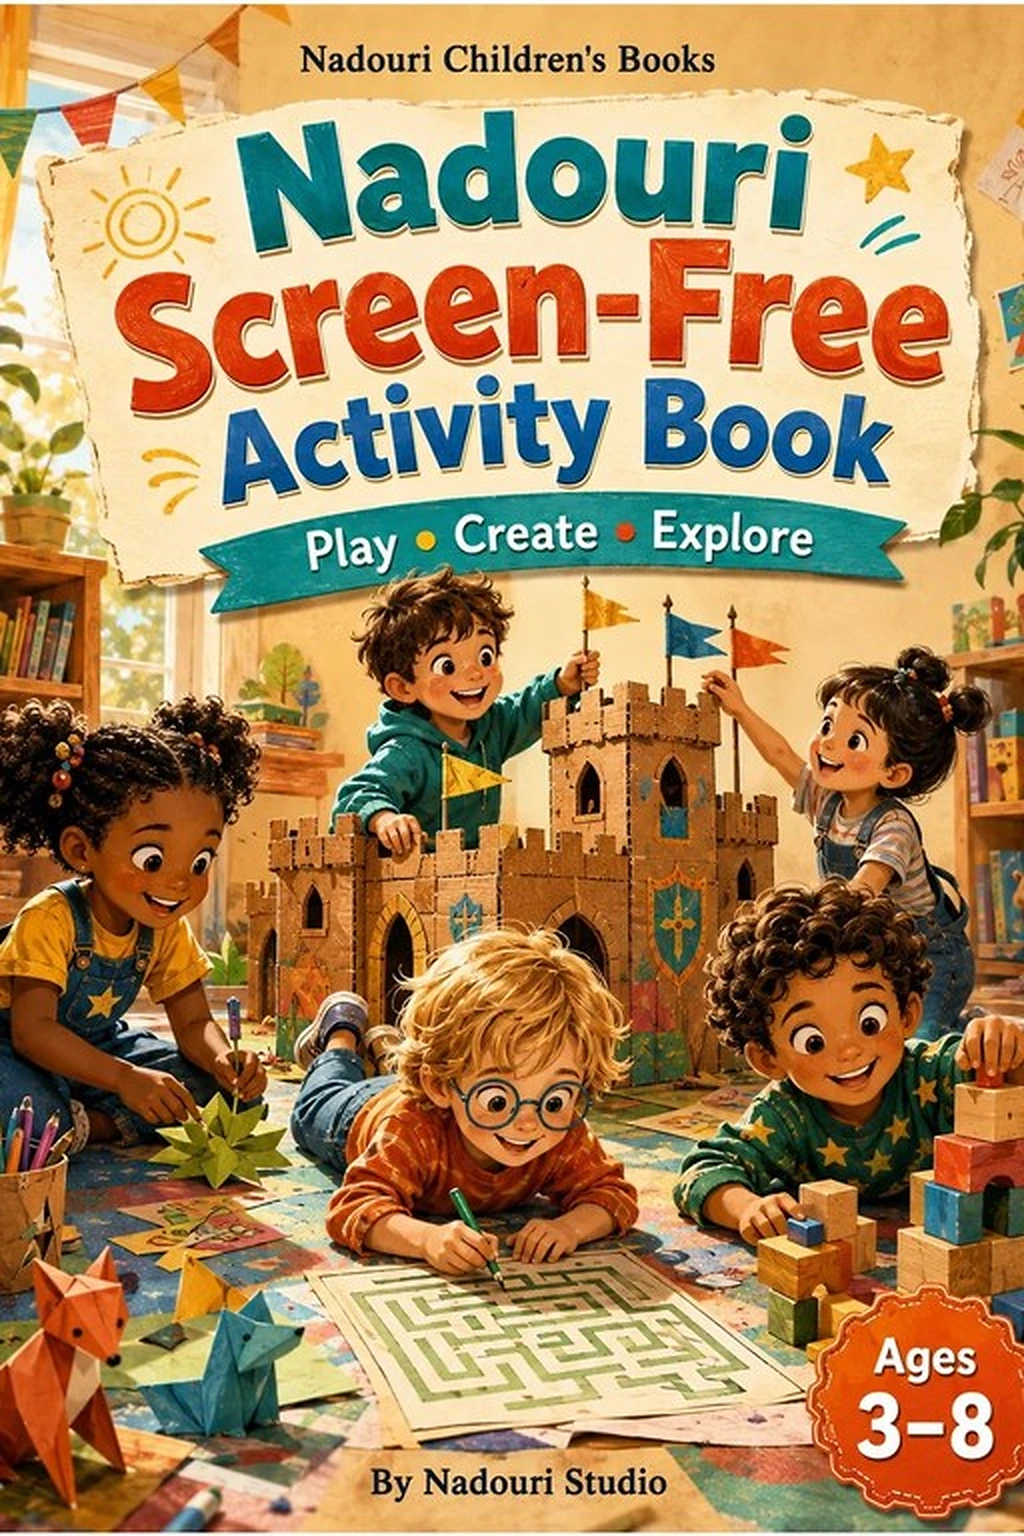
Nadouri Screen-Free Activity Book cover with colorful illustrated activity scenes
Choose one compact activity book rather than carrying several bulky options.

Pack the smallest useful set

Item Why it earns a place
One activity book Provides ready-to-use choices without loose pages.
Three or four large crayons or pencils Offers enough color choice without a large box to spill.
Five sheets of plain paper Works for drawing, folding, games, and quick notes.
Small zip pouch Keeps the kit together and makes cleanup obvious.
Reusable clipboard, if needed Creates a firm surface when there is no table.

Skip supplies that stain easily, need water, or create many tiny pieces. For children under 3, small parts require particular care. Follow manufacturer age labels and supervision guidance, and avoid loose small items. The U.S. Consumer Product Safety Commission explains the federal small-parts requirements for toys and children’s products.

Use a simple three-step rotation

  1. Choose: show two options, such as one puzzle page or one drawing prompt.
  2. Use: keep only the selected page and tools visible.
  3. Pack away: return every item before choosing the next activity.

This rhythm prevents the whole kit from becoming one large distraction. It also makes it easy to pause when boarding, ordering food, or changing locations.

Four original activities that need no extra supplies

The ideas below are original travel prompts, not descriptions of activities included in a specific product.

  • Shape search: find and sketch three circles, two rectangles, and one triangle nearby.
  • Route drawing: draw a line showing the trip from “start” to “finish,” then add three landmarks.
  • Finish the doodle: an adult draws one curved line; the child turns it into a picture.
  • Three-object story: choose three things you can see and tell a short story containing all of them.

Adjust the kit to the child

For ages 3–5, try chunky drawing tools, one short page at a time, and verbal choices. For ages 6–8, add a pencil, eraser, and a small checklist so the child can manage the rotation. These are general suggestions; always match tools to the child’s abilities and the labels on the supplies.

Choose and preview the main book

The verified listing for the Nadouri Screen-Free Activity Book describes a mix of puzzles, doodle prompts, and hands-on activities for ages 3–8. Preview the listing before travel to choose suitable pages. More options are available in the verified Activity & Coloring collection.

Do a two-minute test before leaving

Put the packed pouch on a small table, ask the child to choose one activity, and then practice returning everything. Remove anything difficult to open, noisy, fragile, or easy to lose. The best travel kit is the one your child can actually use and pack away with minimal help.

How to Help a Child Retell a Story Using Pictures

Help an early reader retell a story by choosing three pictures, naming what happened first, next, and last, and supporting ideas without turning it into a test.

How to Help a Child Retell a Story Using Pictures

The simplest way to help a child retell a story is to choose three pictures and talk through what happened first, next, and last. Let the child point, gesture, or use short phrases. Your job is to help them connect events—not to test whether they can repeat every sentence.

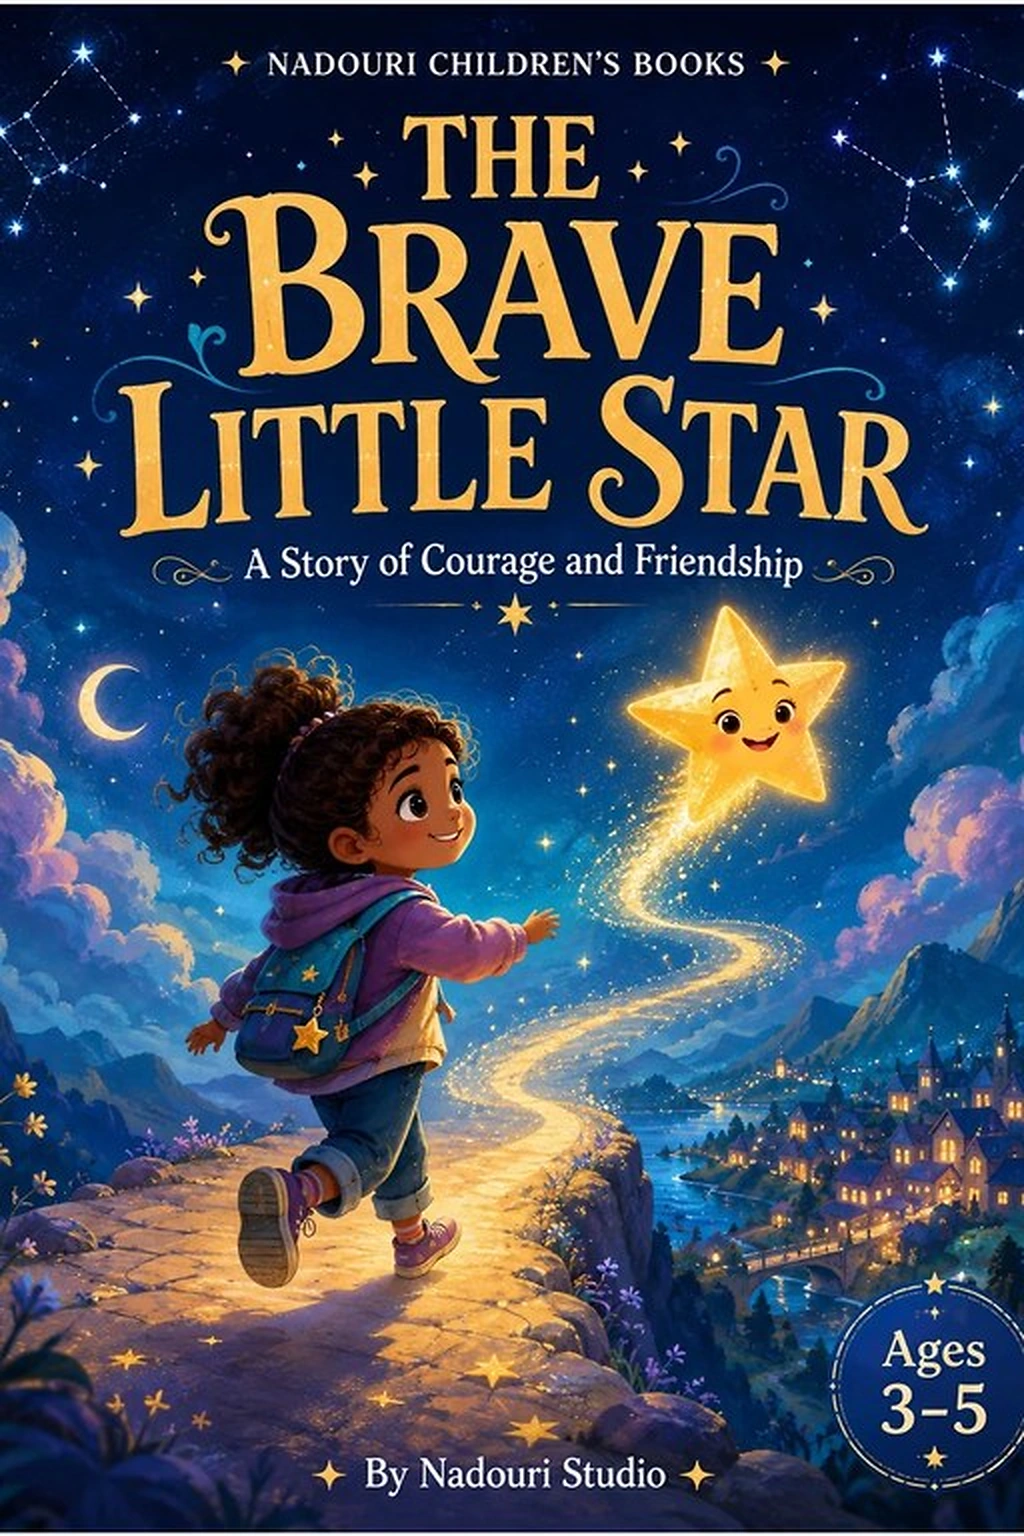
The Brave Little Star children’s book cover with a glowing star and nighttime illustration
A picture book gives children visible clues they can revisit while retelling.

Why begin with pictures?

Pictures reduce the amount a child must hold in mind at once. They provide concrete clues about characters, setting, actions, and changes. For kindergarten and early-primary readers, the U.S. Institute of Education Sciences recommends teaching comprehension strategies and using focused, high-quality discussion. The three-picture routine below is an original home-and-classroom adaptation of those ideas; it is not a quoted lesson from the guide. See the official What Works Clearinghouse practice guide.

The three-picture retelling routine

  1. Choose a beginning picture. Ask, “Who is here, and what is happening?”
  2. Choose a middle picture. Ask, “What changed or what problem appeared?”
  3. Choose an ending picture. Ask, “How did things finish?”

After discussing each picture, invite one connected retelling: “Tell me the story from these three pictures.” If needed, supply only the linking words: first, next, and finally.

Helpful responses without turning it into a quiz

If the child… Try saying…
stays silent “Point to who we should talk about first.”
mixes up the order “Let’s look at the first picture again. What had not happened yet?”
adds imaginative details “That is your new idea. What happened in the book, and what did you invent?”
quotes only one line “Good memory. What happened before that line?”

A different wording is not automatically wrong. Look for the main characters, an important event, and a sensible order. Correct gently only when the child’s version changes a key event from the book.

Three original retelling extensions

These are original activity suggestions, not claims about any particular book.

  • Picture cards: draw three simple boxes, sketch one event in each, mix them, and rebuild the order.
  • Toy retell: use three household objects as characters and move them while telling the story.
  • Two endings: retell the real ending first, then invent a clearly labeled “new ending.”

Choose a picture book with clear visual changes

A book with recognizable characters and visibly different moments makes the routine easier. The Brave Little Star is listed for ages 3–5 and shared reading; preview it to decide whether its story and illustrations suit your child. You can also browse the verified Bedtime & Picture Books collection.

Keep the routine short

One retelling is enough. Stop while the child is still engaged, thank them for the version they told, and return to the activity another day. A brief, supportive conversation is more useful than pushing for a perfect performance.

What to Do When Your Child Wants the Same Book Every Night

Reread the favorite book, then vary one small part of the conversation. Use this four-night plan to keep bedtime familiar without making it stale.

What to Do When Your Child Wants the Same Book Every Night

If your child wants the same book every night, you can simply read it again. You do not need to hide the favorite or turn bedtime into a lesson. Familiarity can make it easier for a child to join in; when you want a little variety, change one small part of the conversation rather than replacing the book.

Why rereading can still be interactive

The ERIC record for “Repeated Interactive Read-Alouds in Preschool and Kindergarten” describes a structured approach in which the same storybook is read three times in slightly different ways, with support for understanding, vocabulary and discussion. That does not mean every family needs three formal lessons. It does show that another reading can have a different purpose.

At home, the purpose may be comfort on one night and picture talk on another. Follow the child’s interest. If they want to hear the exact words and no questions, that is also a valid shared-reading choice.

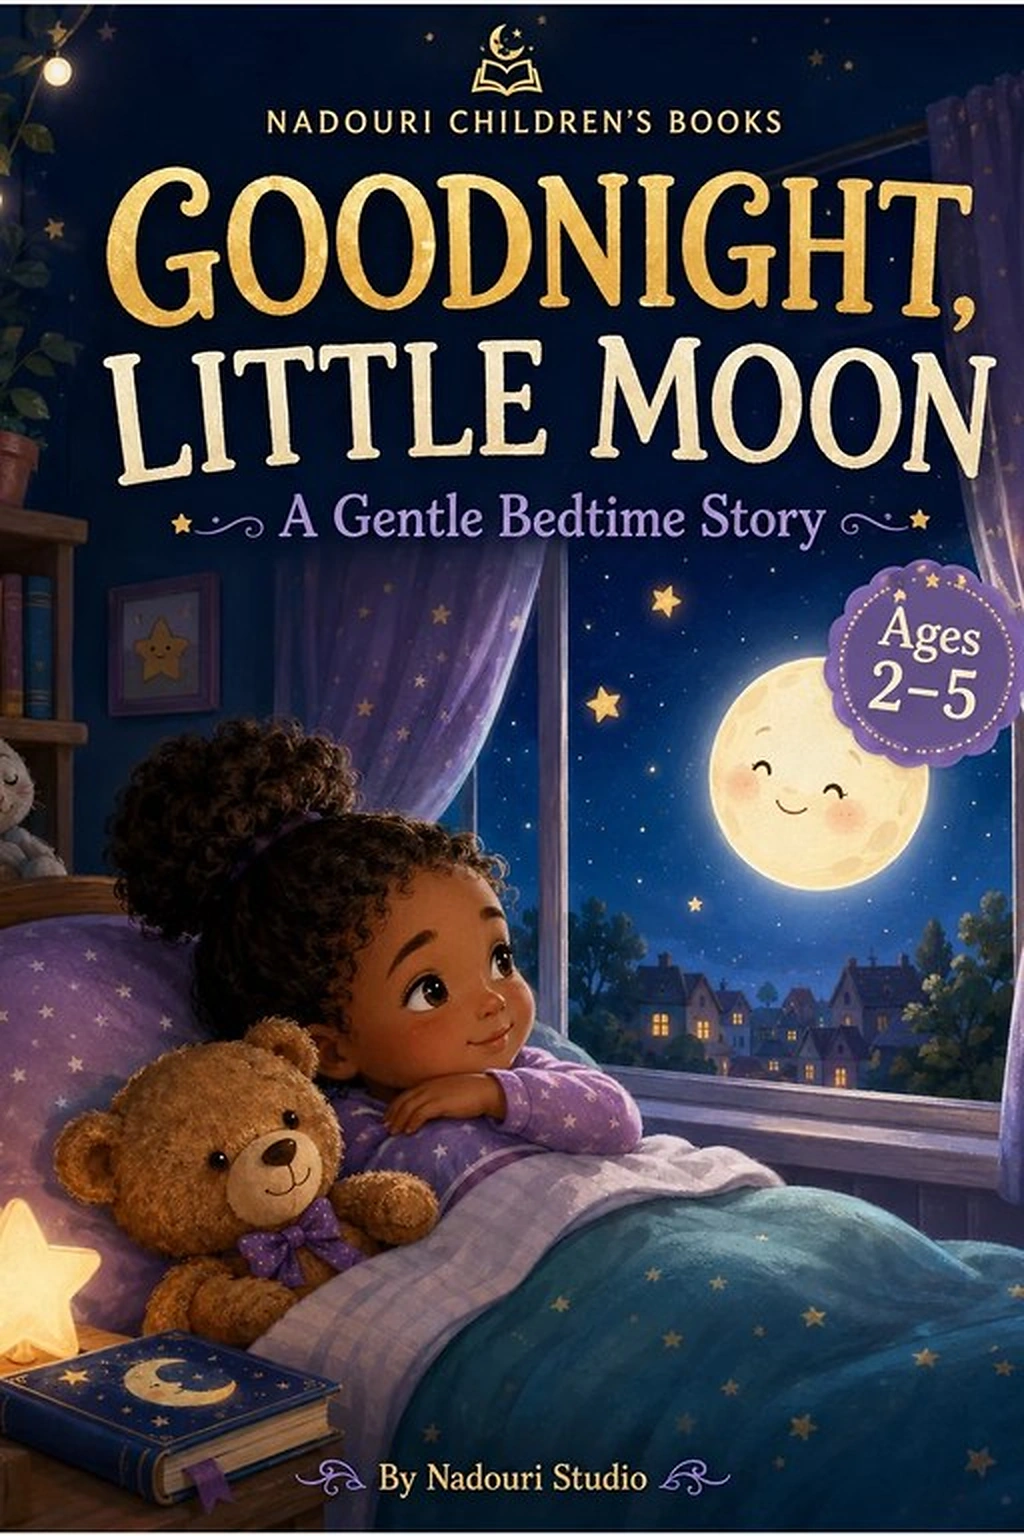
Goodnight, Little Moon book cover with a child and teddy bear looking at a smiling moon
A familiar bedtime story can stay the same while the conversation around it changes.

An original four-night rereading plan

This plan was created for this article. It is a flexible family suggestion, not a claim about activities included in a specific book.

  1. Night 1 — enjoy the story: Read at a comfortable pace. Pause only when your child speaks or points.
  2. Night 2 — notice one picture: Choose a single illustration and ask, “What do you notice?” Accept pointing, sounds and short answers.
  3. Night 3 — leave a small opening: Pause before one familiar, predictable word or repeated phrase. Let the child join in if they want; continue without testing them if they do not.
  4. Night 4 — follow a character: Ask what one character did first, next or at the end. Look back through the pictures together instead of requiring an answer from memory.

Return to Night 1 whenever extra conversation makes bedtime longer or less calm. A rereading plan should serve the routine, not control it.

What if the adult is tired of the book?

  • Take turns with another available caregiver.
  • Read the full favorite, then offer one new book as an optional second choice on another day.
  • Invite the child to “read” the pictures while you listen.
  • Choose one short section when time is limited, but say so before you begin: “Tonight we will read these three pages and say goodnight.”

Avoid secretly skipping large sections after promising the complete story; the child may be relying on the familiar sequence. A clear shorter plan is easier to understand.

Should you correct every remembered word?

No. If a child recites a line differently, respond to the meaning and keep the story moving. You can read the printed sentence naturally without turning the moment into a quiz. If the child asks what a word means, explain it briefly in the context of the picture or story.

When to introduce a different book

Place a new book beside the familiar one and let the child choose. You can look for a related theme, illustration style or bedtime rhythm, but there is no need to force a swap on a particular night. Keep the favorite available while adding options gradually.

The verified listing for Goodnight, Little Moon describes a gentle read-aloud bedtime story for ages 2–5. Review its current previews to decide whether it fits your family. For other story choices, browse the Bedtime & Picture Books collection. The useful question is not “How many times is too many?” but “Is this rereading still working for the child and the adult tonight?”

How to Help a Preschooler Solve a Maze Without Giving the Answer

Help a preschooler work through a maze with finger tracing, simple route language and small hints that preserve the child’s chance to solve it.

How to Help a Preschooler Solve a Maze Without Giving the Answer

To help a preschooler solve a maze without giving away the answer, make the page easier to read, ask the child to choose the next direction, and offer one small hint at a time. The goal is not a perfect line. It is a calm chance to notice a route, make a choice and try again.

First, check whether the maze is the right difficulty

Look for a clear start and finish, wide paths and only a few decision points. Ask your child to point to both endpoints before beginning. If the page is visually busy, cover the lower half with a blank sheet and reveal it gradually.

Stanford DREME’s guide to choosing and adapting math games recommends watching a child’s reactions and changing an activity when it is too easy or too difficult. Its suggestions include breaking a hard activity into parts, modeling, using gestures and rephrasing directions. Apply that principle to the maze rather than insisting that every page must be completed as printed.

My First Mazes book cover with a child and animals following colorful paths toward a castle
A maze with broad, easy-to-see routes gives beginners room to explore.

Use a finger before using a pencil

  1. Name the task: “We are helping the traveler reach the castle.”
  2. Trace from the start: Let the child move one finger slowly along the path.
  3. Pause at a choice: Ask, “Which way could we try?” rather than pointing to the correct route.
  4. Check a dead end: Say, “This path stops. Where can we go back to make a different choice?”
  5. Add the pencil last: Once the route makes sense, the child can trace it on the page if the book or printable is intended for writing.

DREME’s space-and-place conversation example encourages adults to ask open follow-up questions and explore how a child is thinking, including after an unusual answer or mistake. A maze offers an everyday setting for that kind of route conversation.

Give the smallest useful hint

What you notice Try saying or doing
The child cannot find the start. Point only to the start symbol and ask where the traveler needs to go.
The whole page feels overwhelming. Cover part of it and work on one visible section.
The child keeps entering the same dead end. Place a small removable paper marker at that turn and ask what other choice remains.
The child asks you to do it. Model one decision on a different path, then return control.

Three original maze extensions

These suggestions were created for this article; they are not claims about activities included in a particular book.

  • Tell the route: After solving, invite the child to describe the journey using words such as turn, around, beside or through.
  • Build a floor maze: Make two or three wide lanes with cushions or paper. Let a toy travel while the child gives directions.
  • Design one choice: Draw a start, a finish and one fork. Ask the child to add a short dead end and test the route with a finger.

When should you stop?

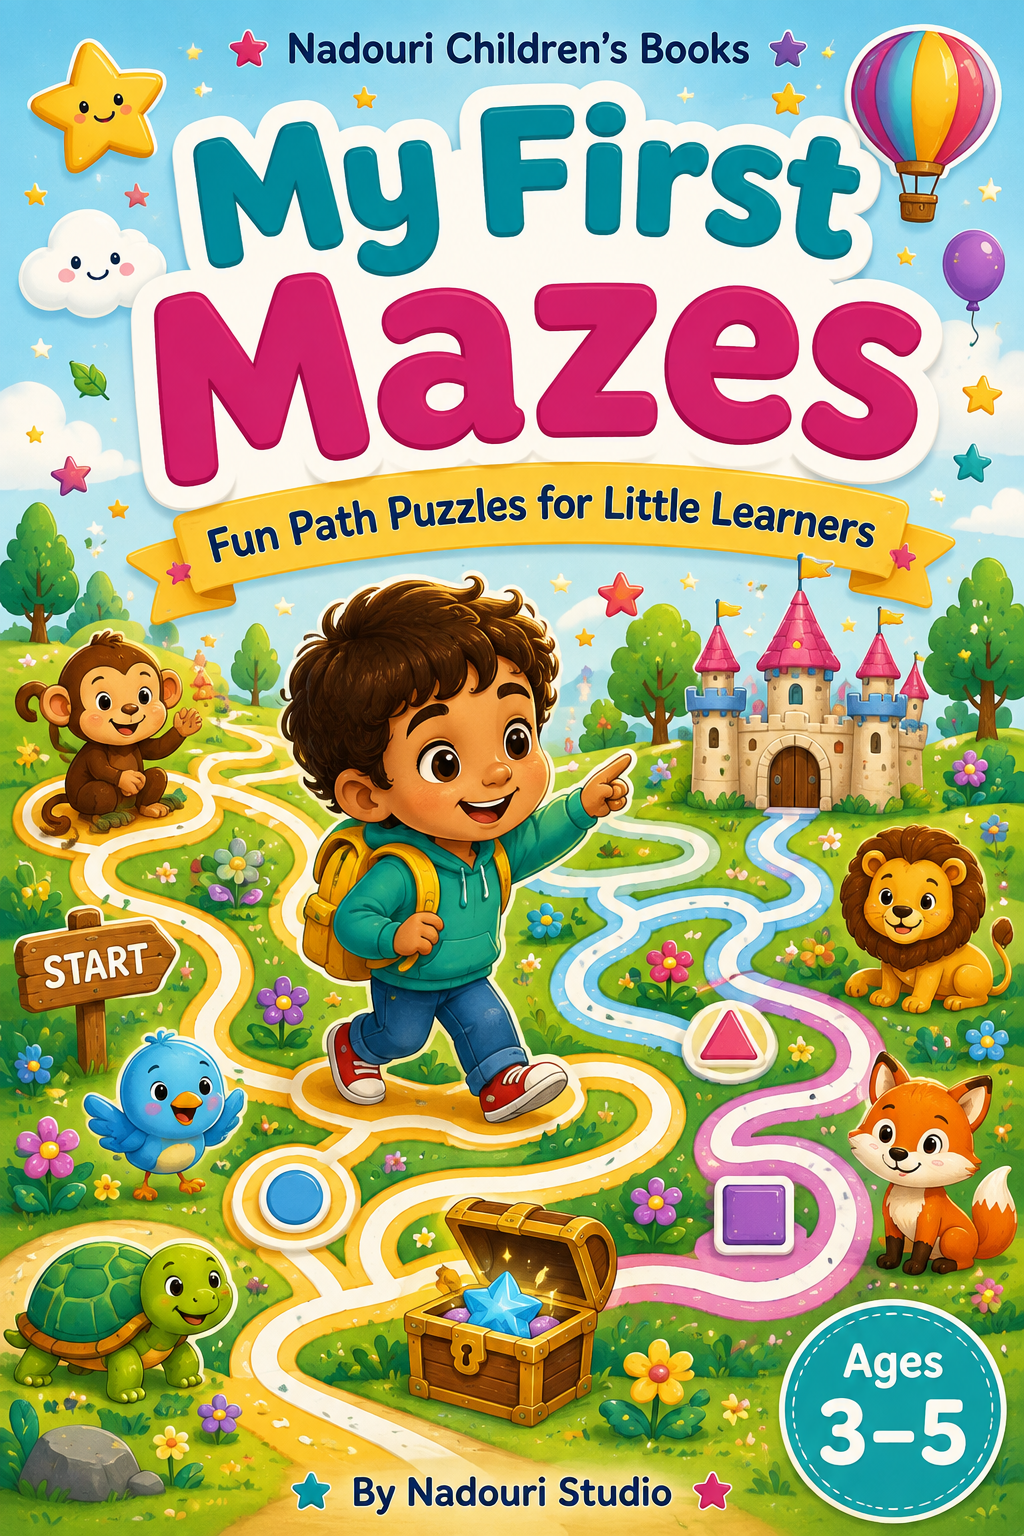
Stop or switch pages when frustration continues after you simplify the task. Finishing later is fine. The current My First Mazes listing describes wide, simple paths for ages 3–5; inspect the previews to judge whether the page suits your child today. You can also compare other options in the Activity Books collection.

How to Use English–Arabic Books When You Speak One Language

Use an English–Arabic children’s book confidently even if you speak one language. Follow a picture-first plan and find reliable help with unfamiliar words.

How to Use English–Arabic Books When You Speak One Language

You can share an English–Arabic children’s book without speaking both languages fluently. Begin with the language you know, talk about the pictures, and get reliable help with a small amount of unfamiliar text. You do not have to read every line twice or turn book time into a translation exercise.

Check how the book uses two languages

A bilingual book might put translations beside each other, introduce a few words within a story, or have separate editions. Head Start’s How to Use Bilingual Books guide explains that the format affects how adults use a book. Its suggestions include exploring pictures in the home language, choosing a small vocabulary focus, and using different languages on different reading days.

Before buying, inspect a preview. Is this a story or a picture vocabulary book? Is the unfamiliar language readable to you? Are pronunciation guidance or audio actually available? Check the listing rather than assuming every bilingual title includes them.

Nadouri First Words English–Arabic book cover with a child, blue bird and bilingual picture cards
Picture vocabulary books offer a starting point for naming familiar things together.

A picture-first plan to try at home

The following plan and examples are original suggestions for this article. They are not a prescribed teaching program or activities promised inside a product.

  1. Choose one inviting picture. Let your child point to something interesting. Describe it in the language you speak comfortably.
  2. Connect it with everyday life. If the picture shows a cup, find a real cup and talk about what it is used for. This example works without requiring that exact picture in your chosen book.
  3. Add one verified word. If you have checked its meaning and pronunciation, introduce the word in the other language. Say it naturally and invite participation without demanding repetition.
  4. Return to the meaning. Use the familiar language to continue the conversation. The new word does not need to replace everything your child already knows.

What if you cannot read or pronounce the Arabic?

Ask a fluent speaker to check the selected word or passage before sharing it. In a classroom, arrange this with a willing family member or colleague rather than making a child responsible for translating for the group.

Transliteration represents words using a different writing system; it is a reading aid, not a guarantee that a beginner will pronounce every sound accurately. If a book includes audio, confirm it belongs to that edition. Avoid inventing pronunciations from an unfamiliar spelling or assuming a general translation app is the book’s official recording.

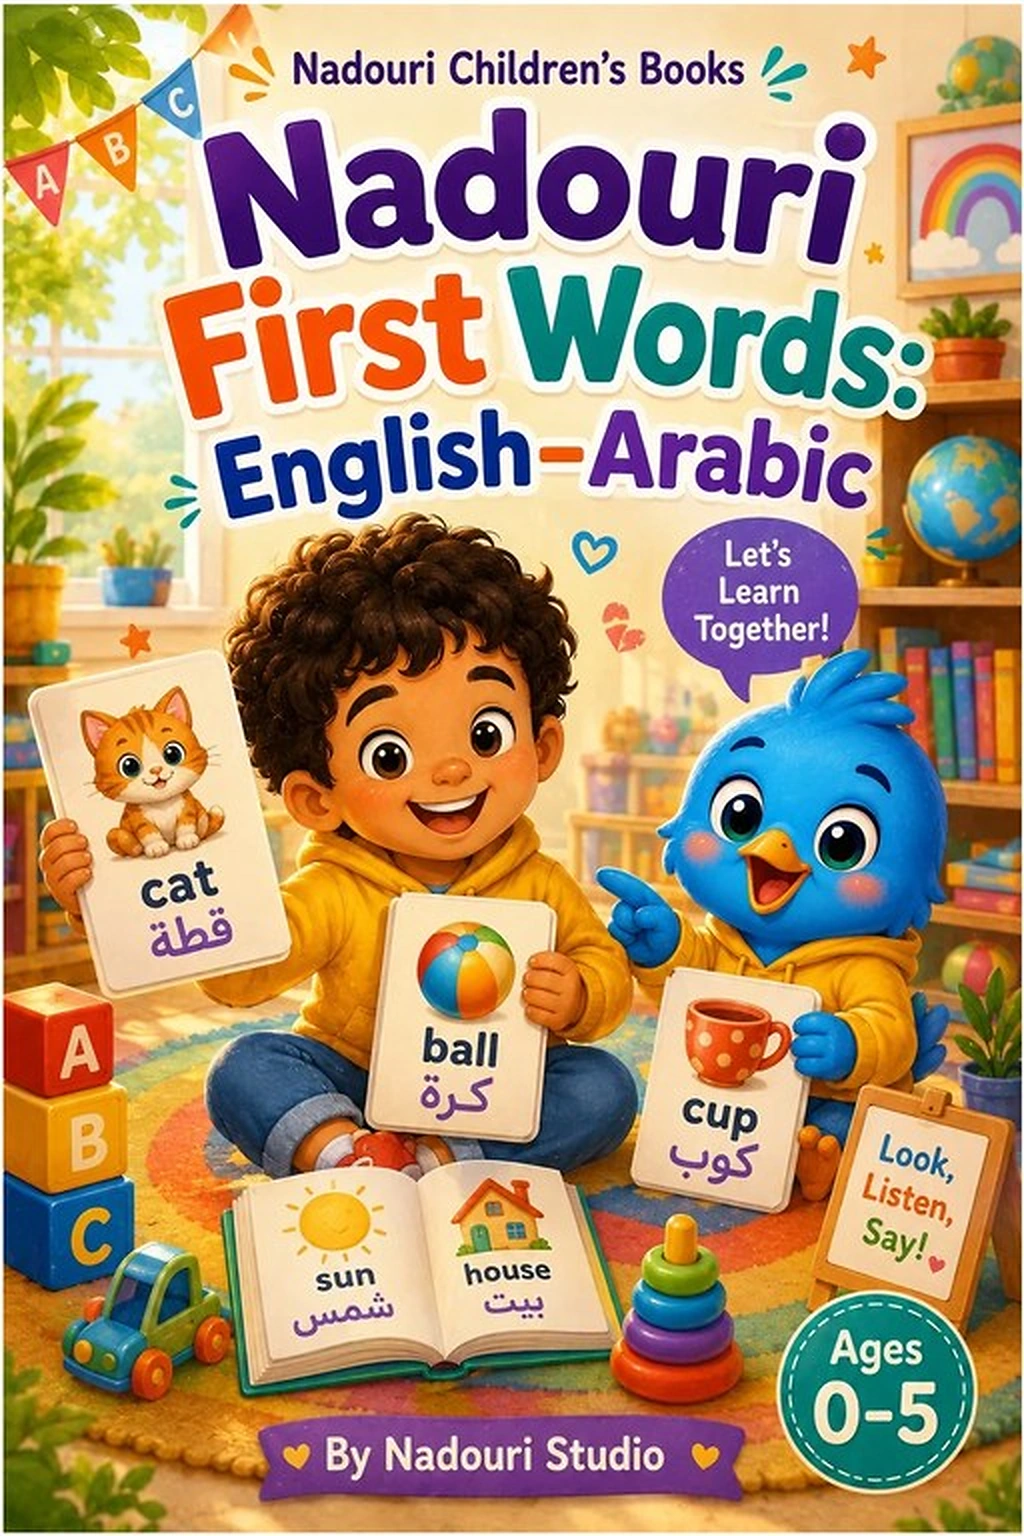
Our Nadouri First Words: English–Arabic listing describes everyday words in both languages with transliteration. Review the current samples to see whether its presentation suits your family. Browse the English–Arabic Books collection to compare titles.

Do you need to read both languages every time?

No fixed two-language sequence is required for these suggested activities. You might use the familiar language today, then revisit the same pictures with a speaker of the other language another day. Follow the child’s interest and the help available to your family.

Head Start’s home-language guidance emphasizes continuing to develop a child’s home language while supporting English. Learning another language does not require abandoning family conversation in the language you know best.

If the child answers in a different language

Respond to the meaning you understand. Invite pointing or showing if you are unsure, and ask a fluent adult for help with unfamiliar words. Avoid treating every answer as a translation quiz.

For the next reading, choose one picture, one comfortable conversation, and perhaps one word you have checked. A bilingual book can be a shared place to explore, even when the adults are learning too.

How to Help Preschoolers Count Objects, Not Just Say Numbers

Help preschoolers connect number words with real quantities using a small set of objects, counting-book pictures and simple games without worksheets.

How to Help Preschoolers Count Objects, Not Just Say Numbers

To help a preschooler count objects, begin with a small group, move or point to each item once, and say one number word for each item. When you finish, name the total: “One, two, three. There are three.” Saying a long counting sequence is useful practice, but it does not by itself show that a child can count a group accurately.

What does counting a group involve?

Stanford DREME’s Counting at a Glance explains three connected ideas: using number words in order, pairing one word with each object, and understanding that the final number gives the group’s total. The second idea is called one-to-one correspondence; the third is cardinality.

You do not need to use those terms with your child. Show the action and describe the result. Start with two or three objects if a larger group is difficult. A small successful count gives you something concrete to discuss.

Number Friends 1 to 20 book cover with children and a colorful number chart
A counting book can provide pictures to explore alongside real objects.

Try the move-and-count method

Put three large, age-appropriate toy blocks on one side of a mat. Slide one to the other side as you say “one,” then move the next while saying “two,” and the last while saying “three.” Sweep your hand toward the counted group and say, “Three blocks altogether.”

Invite your child to take a turn. Leave space between the blocks so each is easy to track. Use suitable materials and supervise; there is no need for small counters or beads.

Three original counting invitations

These activities were created for this article. They are separate suggestions, not claims about exercises included in a particular product.

  1. A parking space for each vehicle: Draw three broad parking spaces. Ask your child to park one large toy vehicle in each, then count the vehicles together. If you add a fourth vehicle, ask whether another space is needed.
  2. A picture-to-block match: Choose a book illustration with a small, clearly identifiable group. Count only that group, then make a matching collection of blocks. Say exactly what you are counting: “These three flowers,” rather than everything on a busy page.
  3. A delivery request: Ask for two blocks to build a pretend doorstep. Let your child select and deliver them. Count the delivered group together, then swap roles so they choose your next request.

When counting goes off track

A block gets counted twice: Move counted objects into a separate area. Model one slow count before offering another turn.

A number word is skipped: Count together, matching your pace to the child’s movement. Reduce the group if needed.

Your child recounts when asked “How many?”: Allow the recount, then connect the final word with the whole group: “You ended at four. Four blocks.” Keep this a conversation rather than a repeated test.

Choosing a book for counting practice

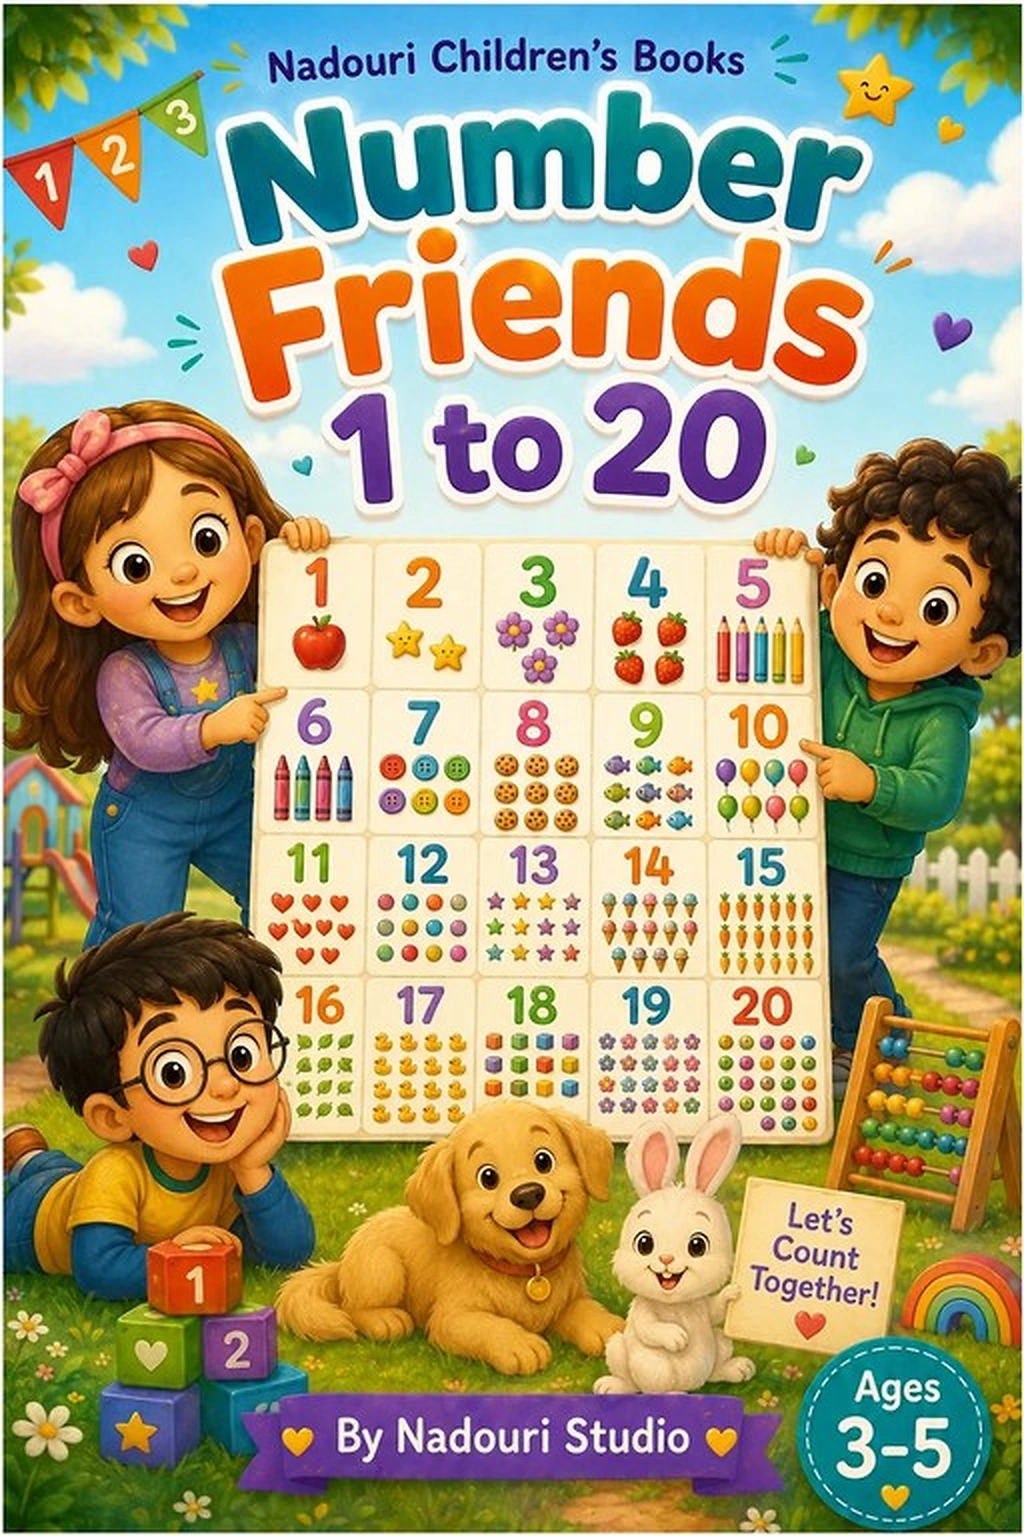
Our Number Friends 1 to 20 listing describes counting with number characters. Check the current previews before choosing a page. For this activity, select a small group whose objects you can identify and count clearly; a title that reaches twenty does not mean you must practice twenty at once.

Teachers can use the same invitation with different group sizes, giving each child space to move their own objects. Families can start with materials already at home. Explore other titles in the Early Learning collection when you want a new picture theme.

Finish by naming what your child counted: “You brought three blocks for our doorstep.” Connecting a number with a real purpose gives the next counting turn a reason to happen.